
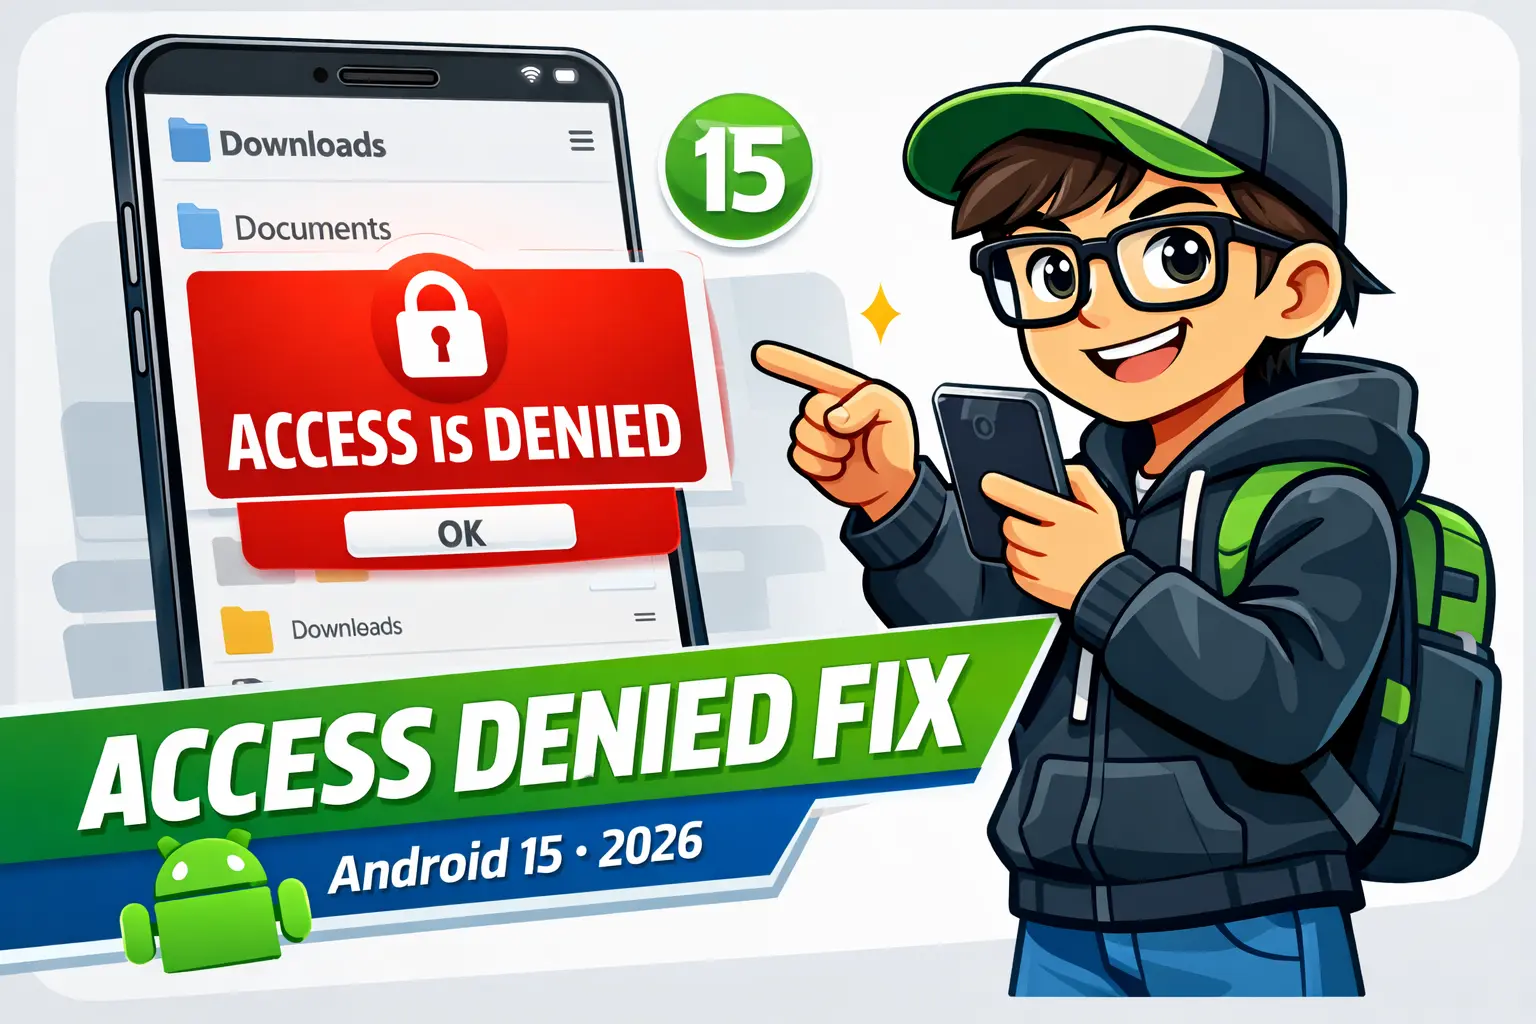
ZArchiver Access Is Denied Problem on Android 15 – Easy Fix (2026)
Struggling with the “Access is Denied” error in ZArchiver? You’re not alone. Many Android users face this frustrating issue when trying to access certain folders or files through the popular file archiver app.
This comprehensive guide will show you the exact solution to fix this problem without downloading random files or following misleading tutorials. Let’s dive straight into the working method.
Understanding the ZArchiver Access Denied Problem
When you download ZArchiver from the Play Store and try to access certain directories—especially within the Android/Data folder—you might encounter an error message saying “Access is Denied.”
Common Scenarios Where This Occurs:
- Opening files in the Android/Data directory
- Accessing app-specific folders
- Trying to enable root support in ZArchiver settings
- Attempting to extract or compress protected files
The root cause is that ZArchiver needs special permissions to access these protected system folders, which standard Android permissions don’t cover.
The Complete Solution: Using Shizuku with ZArchiver
Here’s the proven method that actually works. Follow these steps carefully.
Step 1: Configure ZArchiver Root Settings
- Open ZArchiver on your Android device
- Tap the three-dot menu in the top corner
- Select Settings
- Navigate to the Root option
- Look for “Type of root access”
- Change the selection from “SU” to “Shizuku”
- Enable “File operations are faster compared to access”
At this point, you’ll notice an error message: “Shizuku is not running.” This is expected—we’ll fix it next.
Step 2: Install and Set Up Shizuku
Download Shizuku:
- Open the Google Play Store
- Search for “Shizuku”
- Install the app (it has over 10 million downloads)
- Open Shizuku after installation
Important: The Shizuku app acts as a bridge that allows ZArchiver to access protected system files without requiring full root access on your device.
Step 3: Enable Developer Options
Before proceeding with Shizuku, you need to activate Developer Mode on your phone.
How to Enable Developer Options:
- Go to Settings on your phone
- Scroll down to About Phone
- Find Build Number (location varies by manufacturer)
- Tap Build Number seven times rapidly
- Enter your device password/PIN when prompted
- You’ll see a message: “You are now a developer!”
Developer options are now activated and accessible in your Settings menu.
Step 4: Configure Wireless Debugging
This is the critical step that makes everything work.
Enable Wireless Debugging:
- Go to Settings → Developer Options
- Scroll down to find “Wireless Debugging”
- Toggle it ON
- Tap Allow when prompted
Connect to WiFi:
Make sure your phone is connected to WiFi or enable your mobile hotspot. Wireless debugging requires an active network connection.
Step 5: Pair Shizuku with Your Device
Now comes the pairing process:
- Open the Shizuku app
- Tap on “Pairing”
- Select “Developer Options”
- In Wireless Debugging, tap “Pair device with pairing code”
- A popup will show a 6-digit code and port number
- Enter this exact code in the Shizuku pairing prompt
- Tap Send
Wait a few seconds. You should see “Pairing Successful” message.
Step 6: Start Shizuku Service
- Go back to the Shizuku main screen
- Tap the “Start” button
- Wait a few seconds for initialization
- You’ll see “Shizuku is running” status
Perfect! Shizuku is now active and ready to provide access permissions to ZArchiver.
Step 7: Enable USB Debugging (If Needed)
If you encounter an “ADB is limited” error:
- Return to Developer Options
- Find and enable “USB Debugging”
- Go back to Shizuku and tap Start again
Disable Permission Monitoring:
Some devices (especially OnePlus, Xiaomi, Oppo) have additional restrictions:
- In Developer Options, search for “Permission Monitoring”
- Disable this option
- Restart Shizuku
Step 8: Grant ZArchiver Permissions
- Open ZArchiver
- Navigate to any protected folder (like Android/Data)
- You’ll see a permission request popup
- Select “Allow all the time”
That’s it! ZArchiver should now have full access to previously restricted folders.
Testing the Solution
To verify everything works:
- Open ZArchiver
- Navigate to Internal Storage → Android → Data
- Try opening any app folder
- Files should now open without the “Access Denied” error
Note: Some folders may still show occasional errors. If this happens, simply ensure Shizuku is still running and refresh the folder view.
Key Takeaways
Here’s a quick summary of the solution:
- Install Shizuku from Play Store
- Enable Developer Options by tapping Build Number 7 times
- Turn on Wireless Debugging in Developer Options
- Pair Shizuku using the pairing code method
- Configure ZArchiver to use Shizuku for root access
- Grant permissions when prompted
Troubleshooting Common Issues
Shizuku Keeps Stopping
If Shizuku disconnects frequently, restart it manually before using ZArchiver.
Still Getting Access Denied
Make sure:
- Wireless Debugging is ON
- USB Debugging is enabled
- Permission Monitoring is disabled
- You’ve selected “Shizuku” (not “SU”) in ZArchiver settings
Pairing Fails
Double-check that:
- Your phone is connected to WiFi
- You’re entering the exact pairing code
- Wireless Debugging is active
Conclusion
The ZArchiver “Access is Denied” error is frustrating, but with the Shizuku method, you can fix it permanently. This solution works on all Android devices without requiring root access or risky modifications.
Remember to keep Shizuku running in the background whenever you need to access protected folders in ZArchiver.
Found this guide helpful? Bookmark this page for future reference and share it with others facing the same issue. If you have questions or run into problems, feel free to reach out!